
Big 4×4 Truck: Custom Sport Trac: Fitting Air-Bags Front

Fitting air-bags shouldn’t be more complicated than fitting coil springs…
… but there are a few not so minor details to take care of.
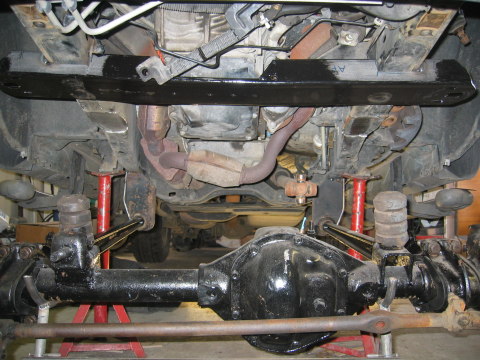
Starting out with the front axle
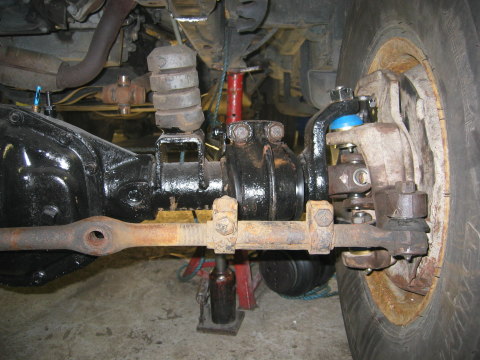
Oli has already assembled the Dana 44 with the new disk brake system.
The steering rod is in a temporary position only to hold the wheels in the correct direction.
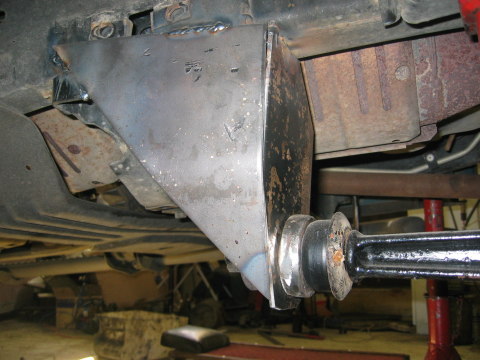
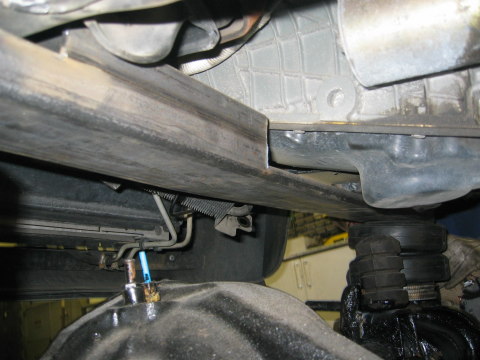
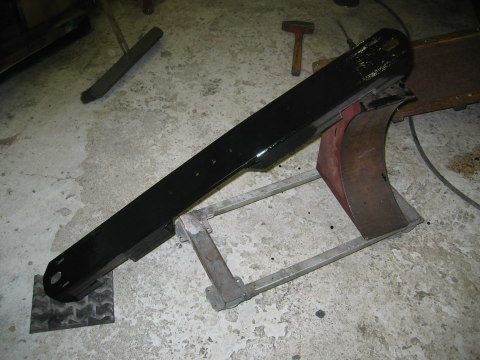
The radius arms should be close to horizontal. Mounting the custom built radius arm brackets to the frame is not to hard once the pieces are prepared. Here it is point welded and will later be fully welded without the bushings.

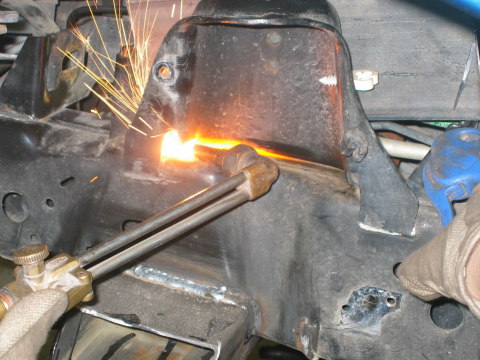
Building a seat for the upper part of the air-bag includes this iron rod. It is cut in the correct length and tried out in place. To get the intended height of the suspension it will need to get a bit higher on the framing. Also it is clear that the rod will be close to the oil pan and will therefore need to be adjusted.
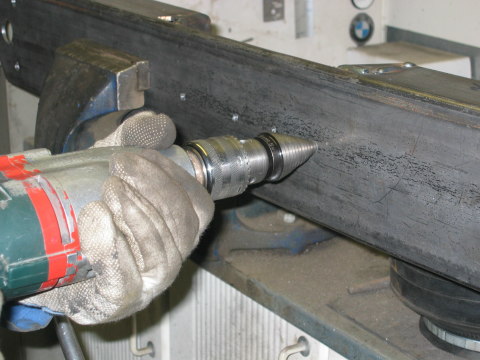
Kjartan marks lines for cutting.
The rod will add strength since the steering frame has been removed.
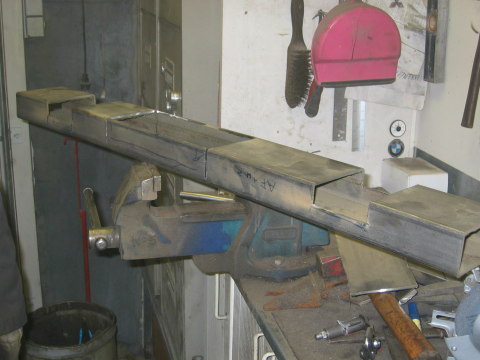
The rod with cut-outs for the frame and the oil pan.
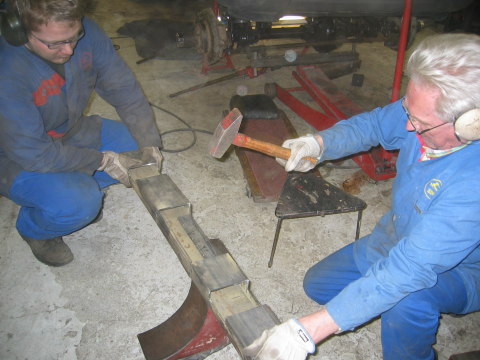
Kjartan uses the “old sledgehammer trick” to form the rod in the correct form.
Trying out the rod again with the circular plates used as thickness indicators.
Oil pan must not get to close to the new bar.
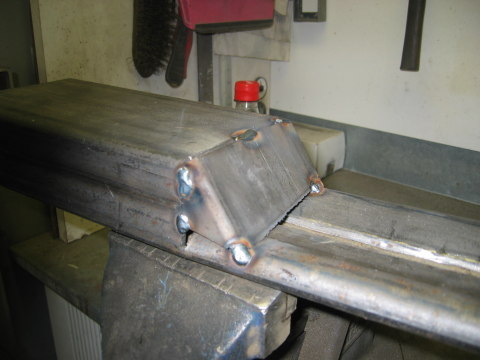
Final touches to the bar include closing the gap…
…making holes at the lowest region to allow water to drain out…
…as well as painting.
In place – the rod adds strength and support for the air-bags.
Quite a number of brackets are no longer needed on the frame and are to be removed. This shock absorber bracket has to be located a little bit further back.
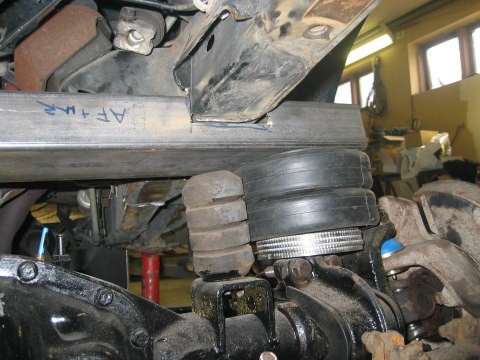
Bottom part of the air-bags has to be bolted on the same spot usually used for the coil spring plate.
Oli finds this solution. Underneath the plate is a piece of C-bar at the correct place.
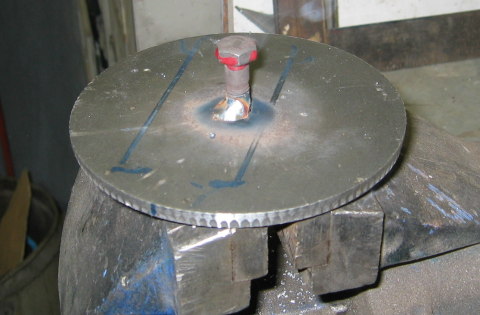
A hole is drilled through the center and a bolt is welded. This makes it easy to screw the air-bag into place.
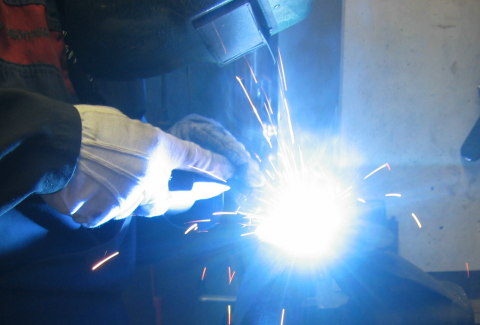
The welding of the C-bar in place…
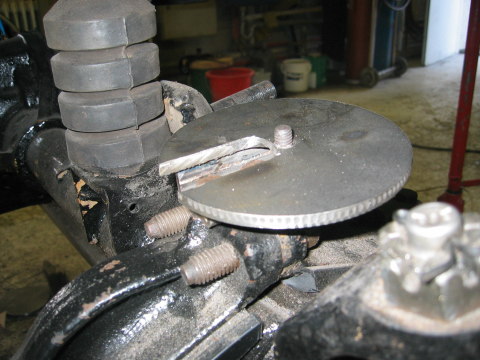
…results in the perfect fastening plate for the air-bag.
Plate has been cut out to make access to the fastening bolts possible.

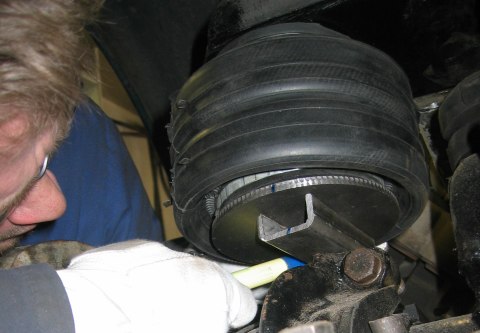
Air-bags in place!
It is a bit tight so close to the upper ball joint. But hopefully that will not be a problem.
Still left to do – getting air into the bags and means of keeping it there and releasing when necessary.
Just to recap:
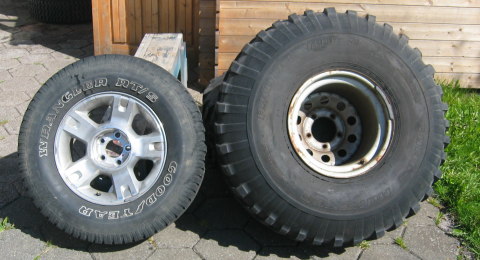
On the left you can see the original highway tires. On the right is the full size 38 inch Monster Mudder that are to be used instead!
[author]
[page id=3836]